The Backstory
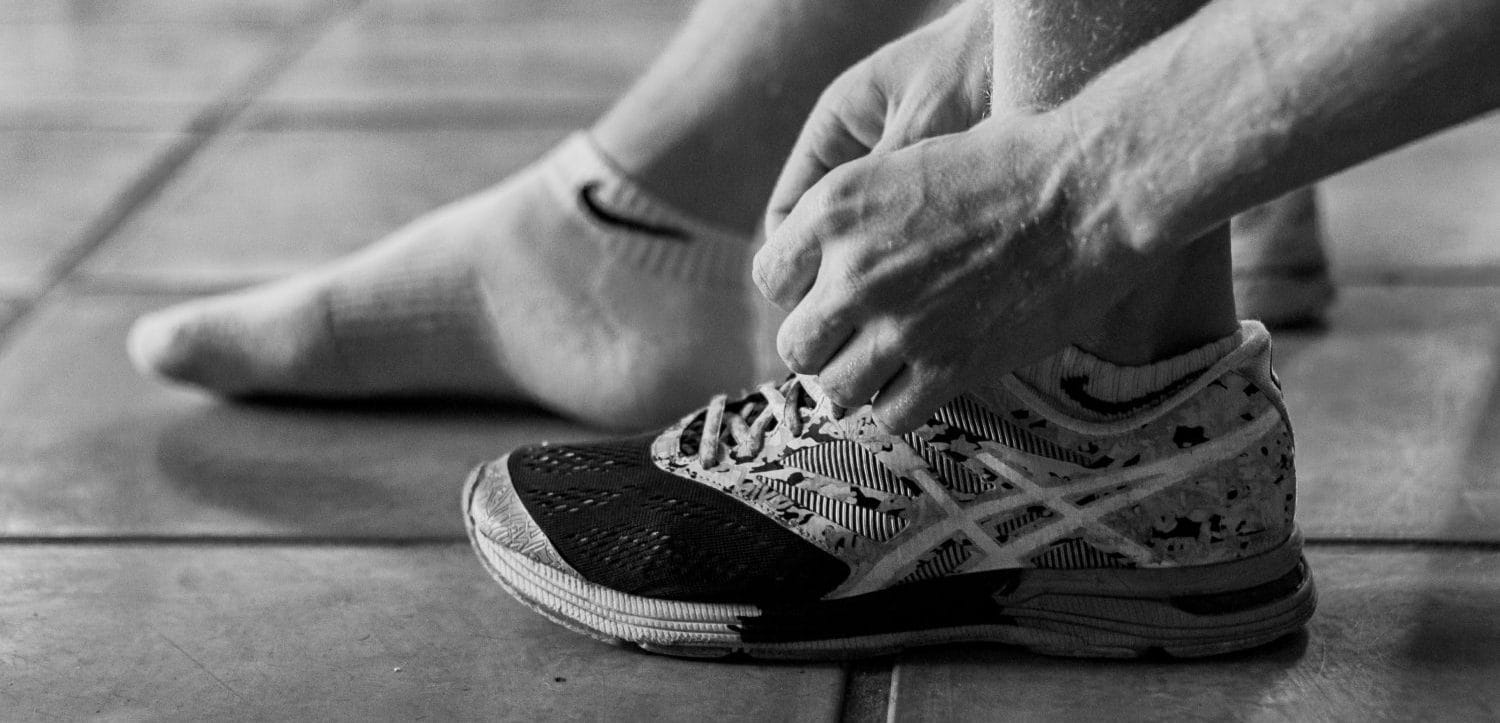
A few years ago, I was trying on new running shoes at a local store in Cincinnati. I found a pair I really liked—except for one issue: my heel kept slipping. I worried it might lead to blisters down the road. I mentioned it to the store employee, and with a quick adjustment to the laces, the problem disappeared. Just like that, my heel was locked in place. That was the first time I learned about the heel lock knot—a simple lacing technique that can make a big difference in how your shoes fit and feel. In this post, I’ll show you how to use it to improve comfort, reduce slippage, and prevent blisters.
What is a Heel Lock Knot?
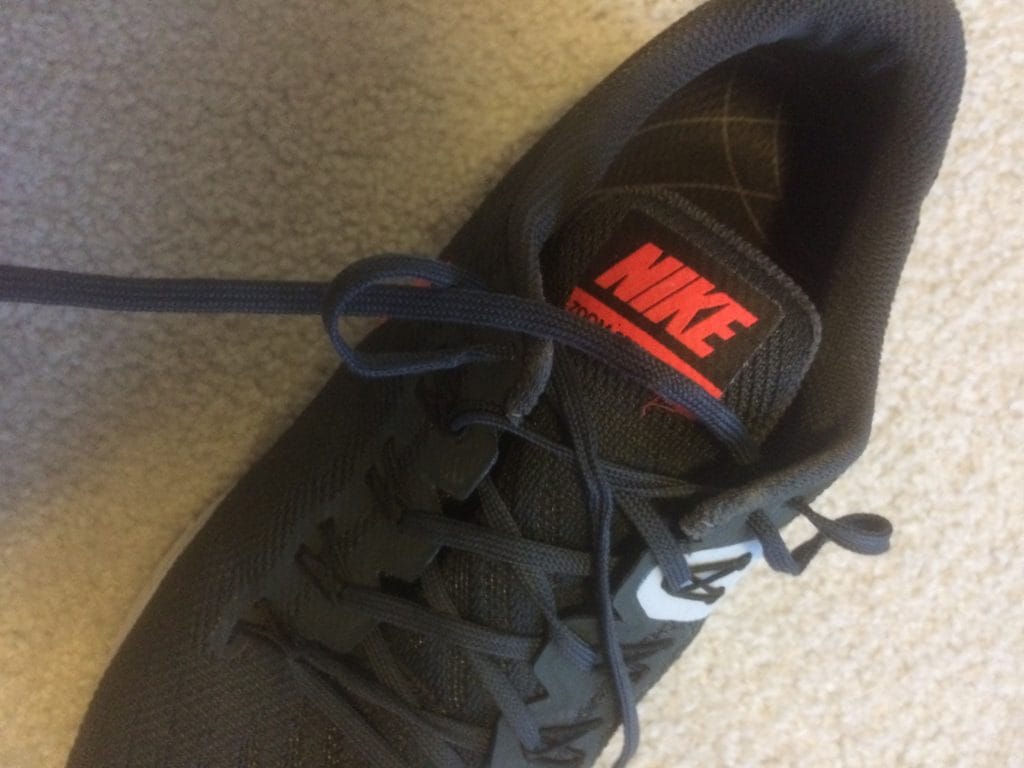
Ever noticed those two extra eyelets at the top of your running shoes and wondered what they’re for? They’re designed for a heel lock (or runner’s loop) knot. This lacing technique tightens the upper part of your shoe to secure your heel without over-tightening the rest of the shoe.
By reducing heel movement, you minimize friction—one of the main causes of blisters. The best part? It doesn’t require any special gear, just a small tweak to how you lace up.
Heel Lock Knot Step-by-Step Instructions
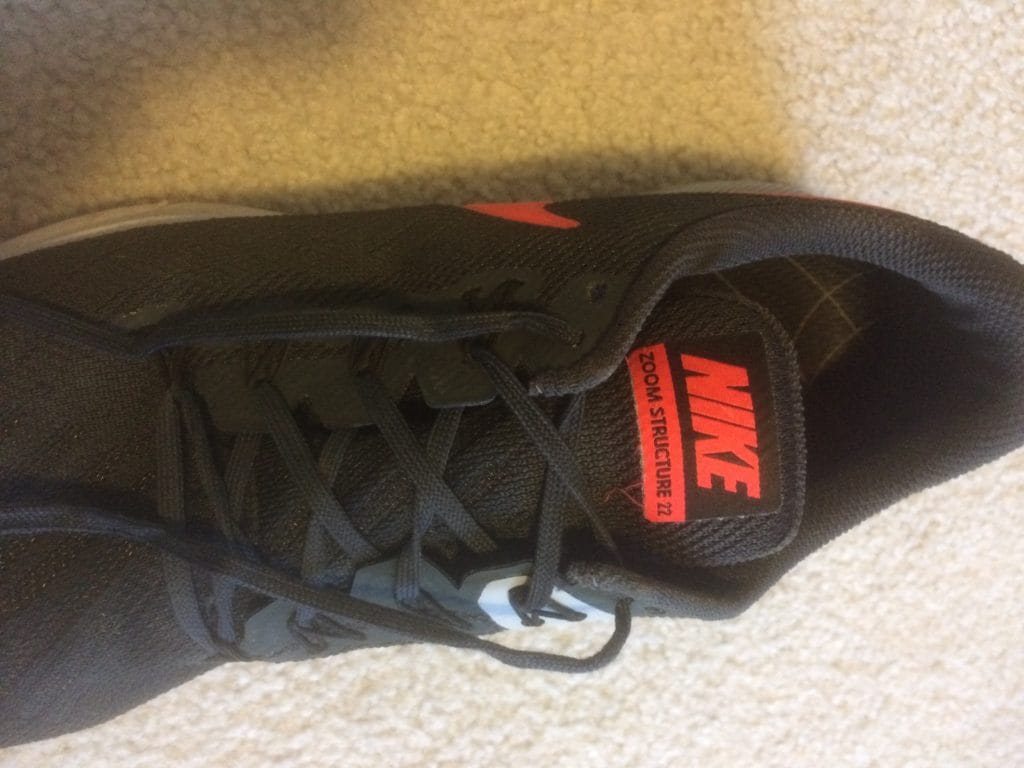
Step 1:
Lace your shoes normally using a crisscross pattern until you reach the top two eyelets.
Step 2:
Take the left lace and loop it through the top eyelet on the same side to create a small loop. Don’t pull it tight yet.

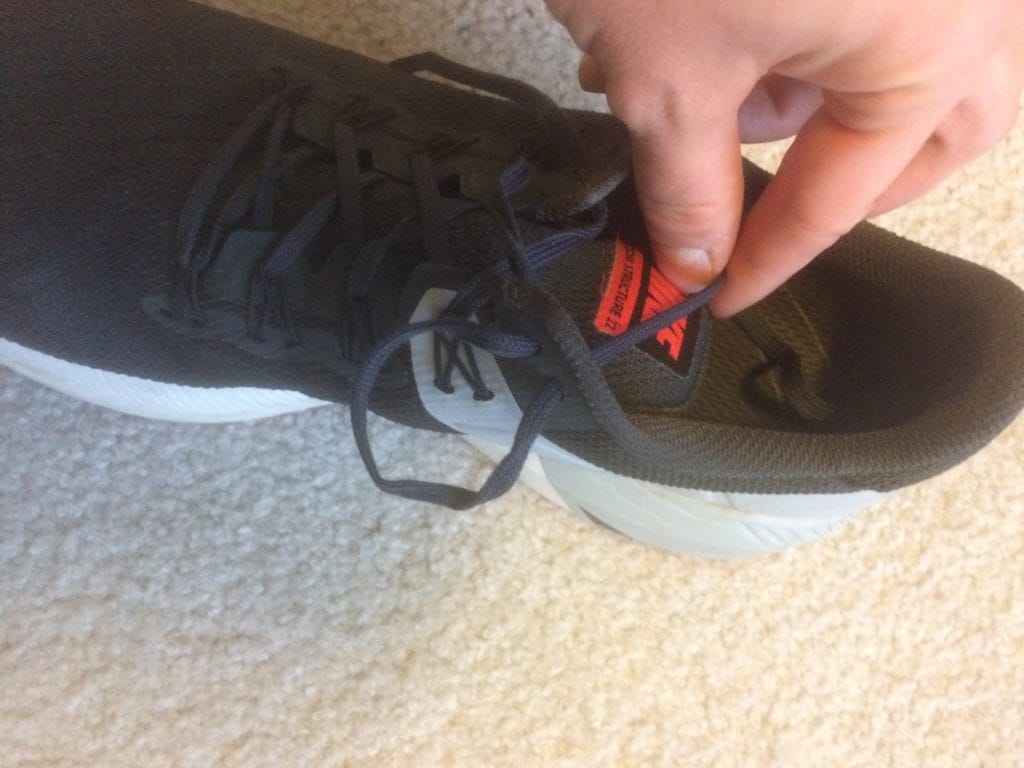
Step 3:
Repeat the same step on the right side. You should now have a loop on each side of the shoe.
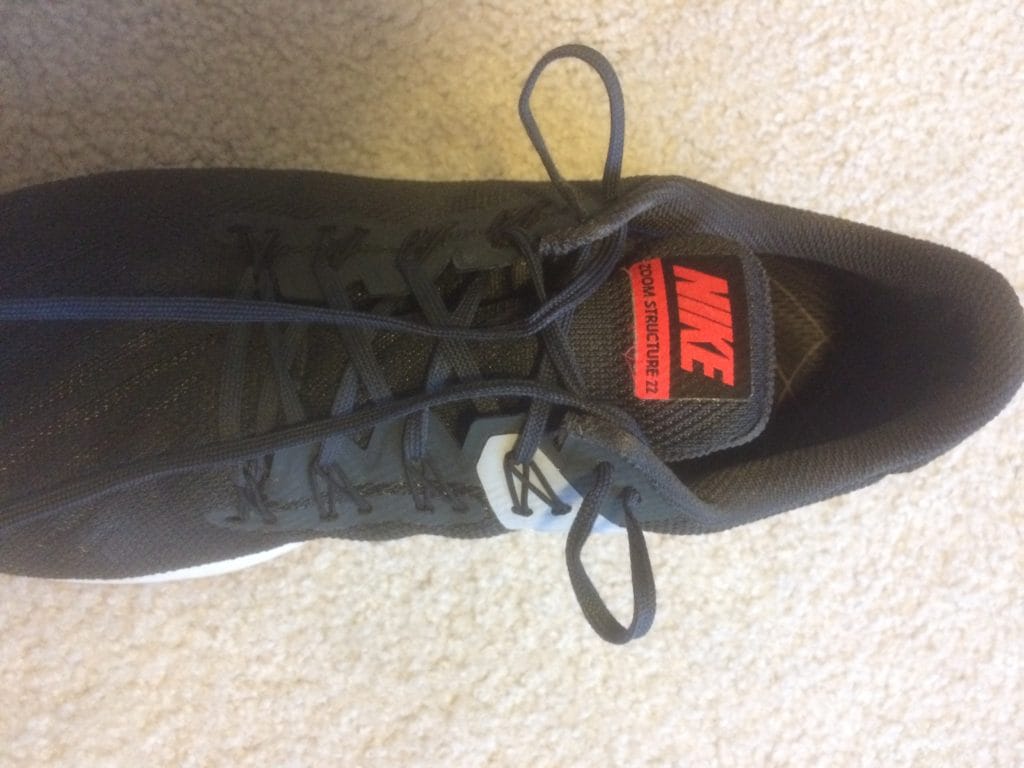
Step 4:
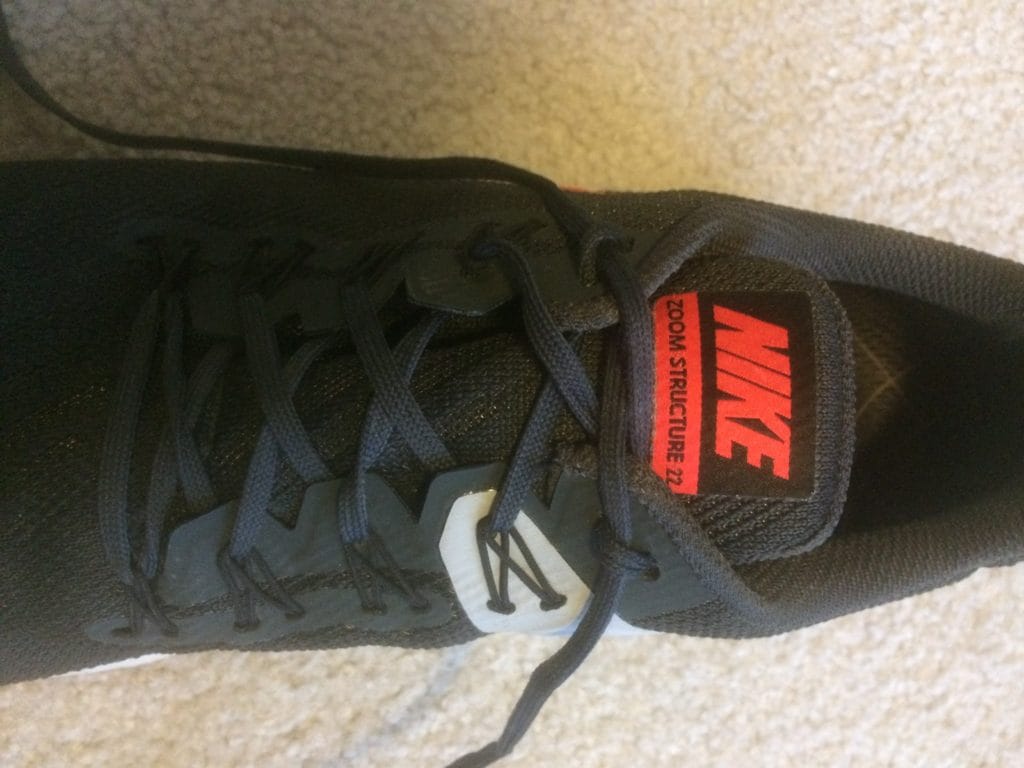
Take each lace and cross it over, threading it through the loop on the opposite side.
Step 5:
Pull both laces tight to lock your heel in place, then tie your shoes as usual.
Here’s a video link of how to complete the heel lock knot.
What to Expect
Once you’ve tied the heel lock knot, you’ll likely notice:
- Less heel slippage
- Improved stability
- Reduced risk of blisters
However, there are a couple of things to keep in mind:
- If your laces are already short, this knot may leave you with less lace to tie.
- The tighter fit around the ankle can make your shoes a bit harder to take off at first.
Final Thoughts
The heel lock knot is a small change that can make a big difference—especially on long runs or races. If you’re still experiencing heel slippage after trying this technique, it might be time to explore a different shoe model. Investing in the right fit is always worth it.
Want more tips on finding the perfect running shoe? Check out my guide here.
Happy running!